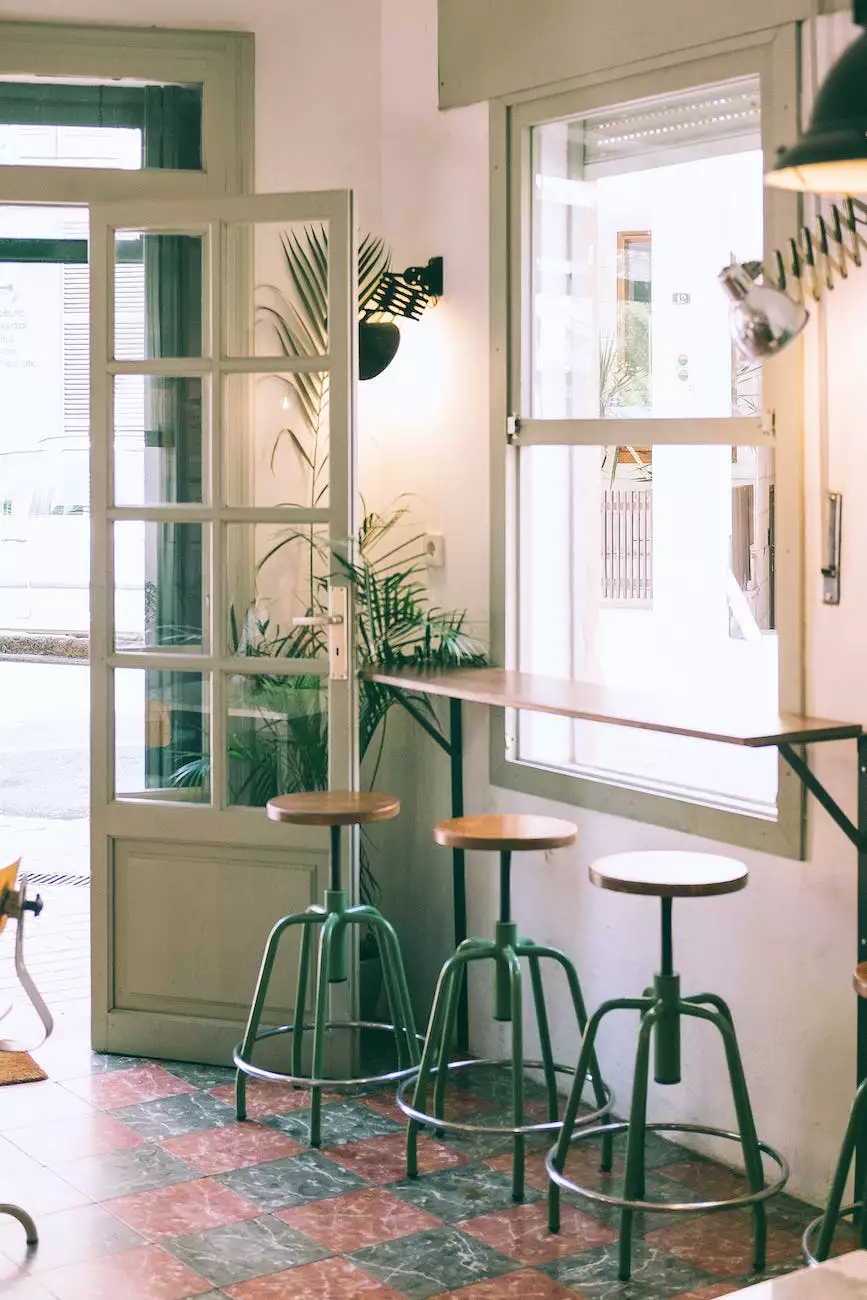
Do It Yourself Project: Recovering Bar Stools

Introduction
Welcome to Your Dream Home Idaho's DIY project guide on recovering bar stools. In this comprehensive guide, we will provide you with step-by-step instructions on how to give your bar stools a fresh new look. Whether you want to update the style, change the fabric, or fix any damages, we've got you covered. Follow our expert tips and turn your bar stools into beautiful statement pieces that reflect your personal style.
Why Recover Your Bar Stools?
Recovering your bar stools is not only a cost-effective solution, but it also allows you to unleash your creativity and add a personal touch to your home decor. By choosing the right fabric, you can completely transform the look and feel of your bar stools without having to buy new ones. It's a great way to breathe new life into your furniture and make a statement in your space.
Materials You Will Need
- Bar stools
- Fabric of your choice
- Scissors
- Staple gun
- Staples
- Screwdriver
- Foam padding (optional)
- Trim (optional)
- Measuring tape
- Pencil
Step-by-Step Guide
Step 1: Preparation
Start by removing the seat from the bar stool frame. Use a screwdriver to unscrew any screws or bolts that hold the seat in place. Once the seat is detached, set it aside on a clean and flat surface. This will allow you to work more comfortably and efficiently.
Step 2: Removing the Old Fabric
Carefully remove the old fabric from the seat. Use scissors to cut the fabric along the edges, taking care not to damage the seat itself. Once the fabric is removed, make sure to remove any staples or remnants to ensure a clean surface for the new fabric.
Step 3: Cutting and Attaching the New Fabric
Measure the dimensions of the seat and add a few extra inches to provide enough fabric for wrapping and stapling. Lay out your chosen fabric on a clean surface and place the seat upside down on top of it. Carefully cut the fabric according to the measurements you took, ensuring a snug fit.
Once the fabric is cut, start attaching it to the seat using a staple gun. Begin by securing one side first, pulling the fabric tight and stapling it in place. Move to the opposite side and repeat the process. Continue stapling along the remaining sides, pulling the fabric taut each time. Trim any excess fabric if necessary.
Step 4: Adding Foam Padding (Optional)
If you prefer a more cushioned seat, you can add foam padding before attaching the new fabric. Cut the foam padding according to the seat dimensions and place it on top of the seat. Secure it with adhesive or double-sided tape, ensuring a smooth and even surface for the fabric.
Step 5: Finishing Touches
Once the fabric is securely attached, reattach the seat to the bar stool frame using the screws or bolts that were previously removed. Tighten them until the seat is firmly in place. Inspect the finished product for any loose fabric or unevenness, and make any necessary adjustments.
Conclusion
Congratulations! You've successfully completed the DIY project of recovering your bar stools. By following our detailed guide, you've given your bar stools a brand new look and added a personal touch to your home decor. Sit back, relax, and enjoy your transformed bar stools.
About Your Dream Home Idaho
Your Dream Home Idaho is a leading real estate agency in Boise, specializing in helping individuals and families find their dream homes. With our extensive knowledge of the local real estate market and dedication to client satisfaction, we strive to make the home-buying process as smooth and enjoyable as possible. Alongside our real estate services, we also provide valuable resources and guides on various aspects of homeownership and home improvement projects, such as this DIY project on recovering bar stools. Trust us to help you find your dream home and make it truly yours.
Keywords:
Boise real estate, DIY bar stools, recovering bar stools, home improvement project, real estate agency, home decor, bar stool fabric, DIY upholstery, Your Dream Home Idaho


